


How do you photograph Amsterdam’s canals like a professional?
Professional canal photography in Amsterdam requires understanding the city’s unique lighting conditions, having the right equipment, and mastering composition techniques that showcase the historic architecture and waterways. The best results come from shooting during golden hour, using polarising filters to manage reflections, and positioning yourself strategically along famous canals like Prinsengracht or Herengracht. This guide covers essential equipment, optimal timing, composition methods, and camera settings for capturing Amsterdam’s canals with professional quality.
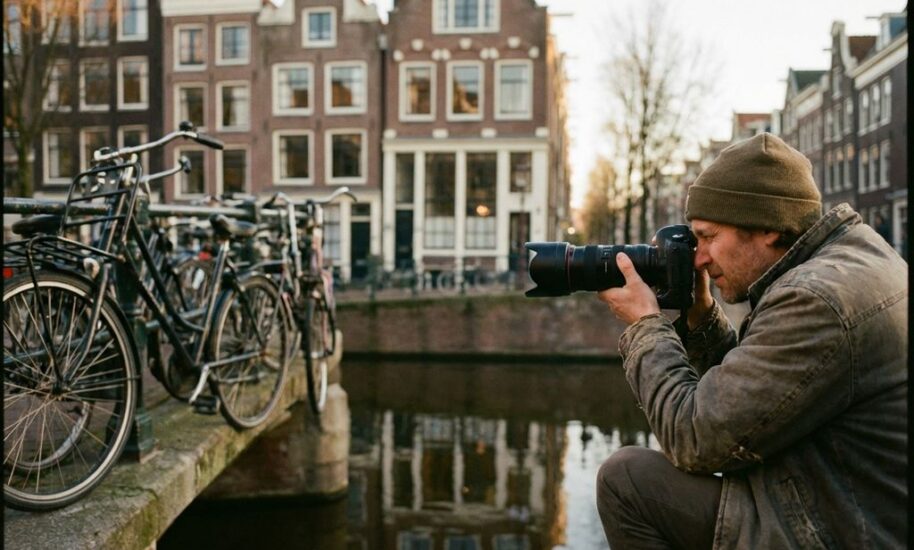
What equipment do you actually need for professional canal photography?
A DSLR or mirrorless camera with a wide-angle lens (16–35mm) forms the foundation of professional canal photography in Amsterdam. You’ll also need a circular polarising filter to control water reflections and a sturdy tripod for sharp images in low-light conditions. These three items handle most canal photography situations effectively.
For lens selection, a 24–70mm provides versatility for both wide canal views and detailed shots of historic houseboats and bridges. The wide-angle capability captures the full sweep of Amsterdam’s famous curved canals, while the longer focal length isolates specific architectural details, such as the ornate gables that line waterways like the Bloemgracht and Brouwersgracht.
Essential accessories include lens cleaning cloths for Amsterdam’s frequent drizzle, extra batteries (cold weather drains power quickly), and waterproof camera bags. A remote shutter release prevents camera shake during longer exposures, particularly useful when photographing canal reflections at dusk. Consider bringing lens hoods to prevent water spots and improve contrast in overcast conditions.
Budget-friendly alternatives include using smartphone cameras with clip-on polarising filters and portable tripods. Many modern phones produce excellent canal photography when combined with proper technique and timing, making professional-quality images accessible without significant equipment investment.
When is the best time to photograph Amsterdam’s canals for stunning results?
Golden hour (about one hour after sunrise and before sunset) provides the most flattering light for canal photography, creating warm reflections on the water and soft illumination of historic canal houses. Early morning offers calm water surfaces with minimal boat traffic, while evening golden hour captures the romantic atmosphere Amsterdam is famous for.
Spring and autumn deliver optimal conditions for canal photography. Spring brings fresh green foliage along the waterways and fewer tourists, while autumn provides dramatic skies and beautiful tree reflections. The famous Amsterdam canal ring looks particularly striking when lined with autumn colours, especially along the Prinsengracht near the Jordaan neighbourhood.
Blue hour, occurring 20–30 minutes after sunset, creates magical conditions when street lights reflect in the dark water while some sky detail remains visible. This timing captures the essence of Amsterdam’s evening atmosphere, with illuminated bridges and cosy canal-side cafés creating warm light sources.
Avoid midday photography, when harsh overhead light creates unflattering shadows and bright reflections that obscure canal details. Overcast days actually work well for canal photography, providing even lighting that reveals architectural details without strong contrasts. Light rain can enhance reflections and create atmospheric conditions that capture Amsterdam’s moody character.
How do you compose canal shots that capture Amsterdam’s unique character?
Use leading lines created by canal edges and bridge railings to draw viewers into your photographs, positioning yourself at canal intersections where multiple waterways create dynamic compositions. Include iconic Amsterdam elements like historic bridges, colourful houseboats, and the distinctive narrow canal houses with their ornate gables.
Reflections form a crucial element in professional canal photography. Position yourself where building reflections create symmetrical compositions, or use broken reflections from gentle water movement to add texture and interest. The curved canals near Dam Square offer excellent opportunities for reflection photography, particularly when historic buildings line both sides of the waterway.
Include human elements to provide scale and life to your canal photographs. Cyclists crossing bridges, people sitting at waterside terraces, or canal boat passengers add authenticity to your images. These elements help viewers understand Amsterdam’s living relationship with its waterways rather than presenting empty tourist postcards.
Frame your shots to include multiple layers: foreground elements like moored bicycles or canal-side flowers, the waterway itself in the middle ground, and historic architecture in the background. This layering technique creates depth and tells a more complete story about Amsterdam’s canal culture. Consider shooting from low angles to emphasise the water surface and create more dramatic perspectives of the surrounding architecture.
What camera settings work best for different canal photography scenarios?
Use aperture priority mode with f/8 to f/11 for optimal sharpness across canal scenes, ensuring both foreground elements and distant architecture remain in focus. Set ISO 100–400 during daylight hours to maintain image quality, and increase to 800–1600 during blue hour or overcast conditions.
For bright daylight canal photography, start with a 1/125s shutter speed to prevent camera shake while allowing handheld shooting. When using polarising filters to control reflections, compensate by opening the aperture one stop or increasing ISO, as these filters reduce light by approximately two stops.
Evening and blue hour photography require different approaches. Use an aperture of f/5.6 to f/8 for adequate depth of field while allowing more light, and extend shutter speeds to 1/15s or longer with tripod support. These longer exposures smooth water surfaces and create streaking effects from passing canal boats, adding movement to your compositions.
Focus settings should prioritise single-point autofocus for precise control over your focal point, particularly important when shooting through bridge railings or including foreground elements. Use back-button focus to separate focusing from shutter release, allowing you to lock focus on distant canal houses while recomposing your shot. In low-light conditions, switch to manual focus and use live view magnification to ensure critical sharpness on key architectural elements.
Professional canal photography in Amsterdam combines technical knowledge with an understanding of the city’s unique character and lighting conditions. Whether you’re exploring the historic centre during a cultural walking tour or discovering hidden photogenic spots throughout the canal ring, these techniques help capture the timeless beauty that makes Amsterdam one of Europe’s most photographed cities. The combination of proper equipment, optimal timing, and thoughtful composition transforms ordinary canal snapshots into compelling photographs that showcase this remarkable city’s enduring appeal.
